In this tutorial, we will be installing Consul on Debian 10 buster in a single node.
First cd to temp folder
cd /tmpInstall the necessary packages.
sudo apt install curl jq unzipPlease note checkpoint-api.hashicorp.com is a IPv4 only endpoint at the time of the writing.
To install the latest version use the following commands. It will check the system architecture as well.
consul_version=`curl https://checkpoint-api.hashicorp.com/v1/check/consul | jq .current_version |  tr -d '"'`
system_arch=`uname -m | grep -q 'x86_64' && echo 'amd64' || echo "arm64"`
curl "https://releases.hashicorp.com/consul/${consul_version}/consul_${consul_version}_linux_${system_arch}.zip" > consul.zip
unzip the consul zip.
unzip consul.zipMove the file to local bin, so it can accessed at any path and add the executable permission.
sudo cp consul /usr/local/bin/
sudo chmod +x /usr/local/bin/consul
check if the consul is working by checking the version.
consul --versionIf the all is well you should see a output like below.
Consul v1.8.4
Revision 12b16df32
Protocol 2 spoken by default, understands 2 to 3 (agent will automatically use protocol >2 when speaking to compatible agents)
Start the consul agent in dev mode.
consul agent -devby default the consul UI will run on 8500 port.
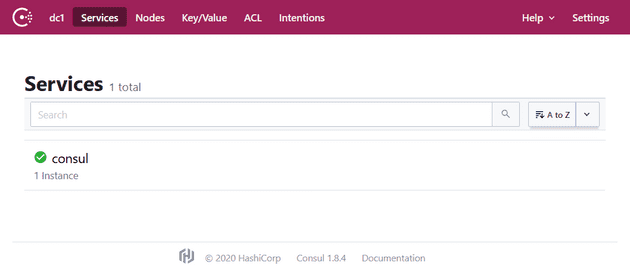
visit http://localhost:8500/ to view the consul UI.
You should see output like below with consul services.
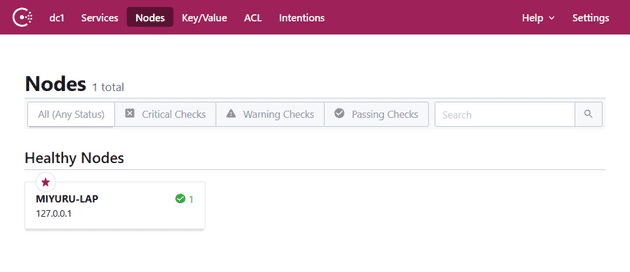
Click the nodes in header and you view consul nodes.
CRTL-C on the terminal to to stop the process.
You have now successfully setup single consul node.

